

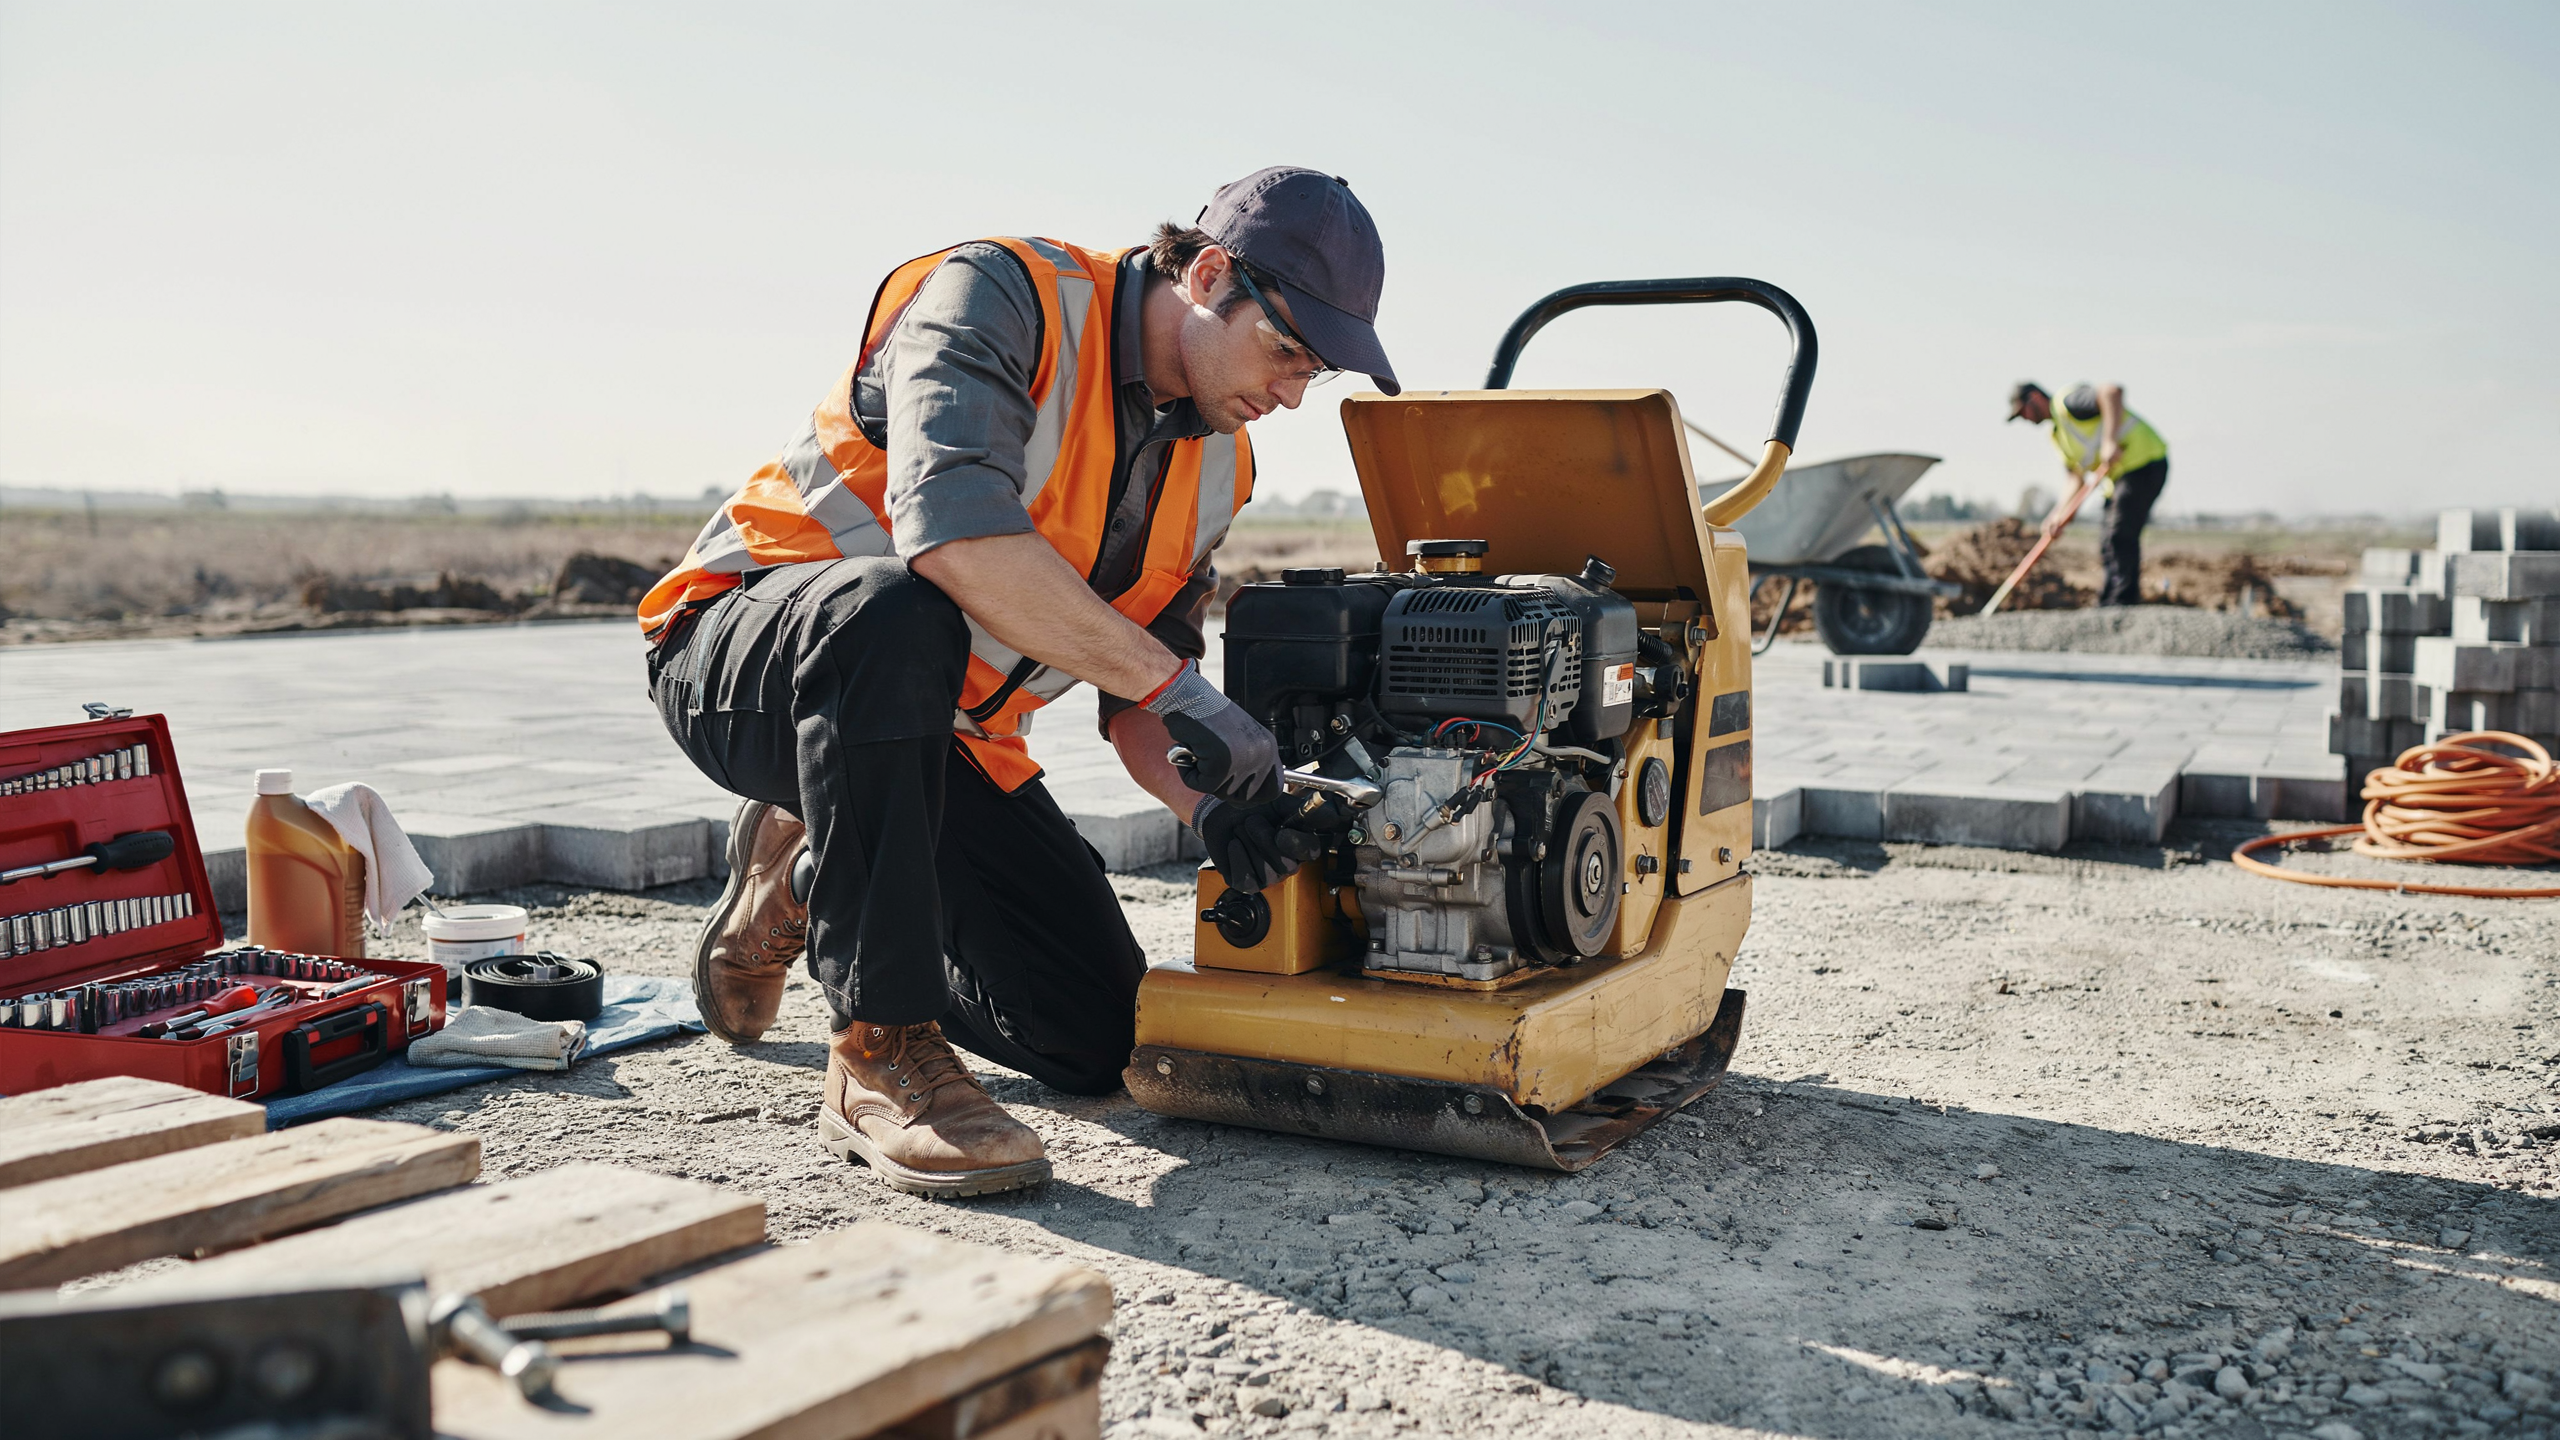
Plate compactors take a beating on every job. They vibrate constantly, grind against abrasive materials, and often sit idle in dusty storage between projects, all conditions that wear down components fast. Skip regular upkeep, and what starts as minor wear becomes expensive failure: cracked exciter housings, seized bearings, or a dead engine that grounds the machine mid-project. The good news? A consistent maintenance schedule is what separates a compactor that lasts a decade from one that struggles through its third season. This article walks you through the key habits that keep a plate compactor running at full capacity, from daily engine checks all the way through off-season storage prep.
Engine and Fluid Maintenance: The Foundation of Machine Longevity
A plate compactor’s engine is where neglect shows up first, and it’s also the easiest place to stay ahead of problems. Most gas-powered units, from the VEVOR vibratory compactor to brands like Wacker Neuson, Honda, and Multiquip, run a four-stroke gasoline engine that needs clean oil, a clear air filter, and a functioning fuel system to hold up through hours of hard compaction work. Start every maintenance check by looking at the oil level on the dipstick before you start the engine; low or dirty oil causes cylinder wear faster than almost any other factor. Most manufacturers recommend an oil change after the first 20 hours of break-in, then every 50 hours thereafter. Mark those intervals on a calendar or tie them to a specific job count so the schedule doesn’t slip.
Oil Change and Air Filter Intervals
Change the engine oil while the machine is still warm from a recent run. Warm oil drains more completely and carries suspended contaminants out with it. Use the viscosity grade specified in your owner’s manual; SAE 10W-30 is common for general-use gasoline engines, but check the spec before you pour. Drain into a sealed container and dispose of used oil properly at a recycling facility.
For the air filter, pull it out and tap it gently to dislodge loose dust. A foam pre-cleaner can be rinsed with warm soapy water, dried fully, and lightly re-oiled. But paper elements should be replaced rather than cleaned once they show heavy clogging or any tears. A clogged filter starves the engine of air, which richens the fuel mixture, raises exhaust temperature, and accelerates valve wear over time.
Fuel System Checks and Spark Plug Service
Stale fuel is one of the most overlooked causes of hard starting and rough idle on plate compactors; gasoline degrades within 30 days if it contains ethanol, which most pump fuel does. Add a fuel stabilizer any time the machine sits for more than two weeks. Drain the carburetor float bowl completely before extended storage by running the engine until it stalls from fuel starvation.
Check the spark plug every 100 hours. Remove it, inspect the electrode for erosion or heavy carbon buildup, and measure the gap against spec (typically 0.028 to 0.031 inches for small gasoline engines). A white, chalky electrode points to a lean mixture or overheating; a black, sooty one suggests a rich mixture or a dirty air filter. Replace the plug outright rather than trying to clean a worn one. A few dollars spent on a fresh plug eliminates a common no-start cause in a single step.
Compaction Plate and Exciter System Care
The plate itself and the exciter unit beneath the engine take the most mechanical punishment on the machine. Proper care here directly affects how well the compactor densifies material and how long the device stays in service.
Inspecting and Cleaning the Base Plate
After each use, scrape or brush any packed material off the base plate while it’s still fresh. Asphalt residue bonds hard once it cools. Leave it overnight, and removal becomes a chore that can scratch the plate’s surface. A flat scraper and a rag dampened with a small amount of diesel fuel or a commercial degreaser handle most buildup without damaging the steel.
Check the plate edges for cracks, chips, or bent corners after every few uses; edge damage affects the compactor’s contact footprint and reduces density consistency across the pass. Small surface rust spots on the steel plate are cosmetic, but active pitting or deep corrosion under the plate should be addressed promptly. A light coat of oil or rust inhibitor on the plate bottom after cleaning extends its service life, especially in humid climates or during winter storage.
Exciter Unit Bearings and Belt Tension
The exciter unit generates the vibration that makes compaction possible, doing so through an eccentric weight spinning on a shaft supported by two bearings. Those bearings need grease at every 25-hour service interval. Use the grease type specified by the manufacturer (lithium-based grease is common) and pump it through the grease fittings until fresh grease purges at the seal. Over-greasing is also a problem; excess grease in a bearing cavity can raise internal temperature and break down the lubricant faster.
On belt-driven exciters, check belt tension by pressing the belt midway between the pulleys. You should feel firm resistance with only a small amount of deflection, roughly 0.25 to 0.5 inches, depending on belt length. A slack belt slips under load, reducing vibration amplitude and causing the belt to overheat and crack prematurely. And inspect the belt visually for fraying, glazing, or cracking on the inner surface.
Seasonal Storage and Pre-Season Startup
Proper storage at the end of a season protects everything you maintained throughout the year. A solid pre-season check prevents surprises on the first job of spring.
End-of-Season Storage Procedure
Before storage, complete a full service: change the oil, clean or replace the air filter, and inspect all fasteners for tightness. Loose bolts are a natural result of constant vibration; they’re easy to miss until one works free during operation. After servicing, drain the fuel system completely or treat the tank with stabilizer.
Remove the spark plug and pour about a teaspoon of clean engine oil directly into the cylinder. Pull the starter cord slowly two or three times to distribute the oil across the cylinder walls. This prevents rust on the bore surface during long idle periods. Store the machine indoors or under a cover in a dry location. Moisture is the enemy of the exciter shaft, the engine bore, and any exposed steel hardware. A few minutes of prep before you put the machine away saves a full inspection when you need it next.
Pre-Season Startup Checklist
Before the first use of the new season, run through this checklist:
- Check the engine oil level and condition; change it if it looks dark or smells burnt.
- Inspect the spark plug and replace it if you didn’t do so at storage.
- Check the fuel lines and carburetor for cracks, leaks, or gummy residue from old fuel.
- Verify the air filter is clean and seated correctly.
- Inspect the exciter belt for cracks and confirm tension is within spec.
- Grease the exciter bearings if you didn’t do so at the end of the season.
- Check all bolts and fasteners; retighten anything that’s loosened over winter.
- Look over the base plate for corrosion or edge damage and address it before the first run.
A pre-season check adds 20 minutes to your prep time and prevents a breakdown on a job where equipment idle time costs you money.
Conclusion
Knowing how to maintain a plate compactor for long-term performance comes down to consistent attention at three levels: the engine and fluid systems, the compaction plate and exciter unit, and seasonal storage habits. Each layer builds on the last. Clean oil protects the engine; greased bearings keep the exciter producing full vibration; proper storage means the machine is ready when you need it. Don’t wait for a compactor to show symptoms before you service it. Set fixed intervals, follow them, and the machine will deliver consistent performance through years of heavy use.
