


There’s a specific moment when you’re scrolling through images and can’t quite tell if something is a photograph or generated — and then there’s the moment right after, when something about the skin texture, the shadow, or the reflection tips you off that it isn’t. Closing that gap is one of the most sought-after skills in working with an AI image generator, and it comes down to understanding exactly what separates convincing realism from something that just looks close.
Dreamina, powered by its most advanced image generation model, Seedream 5.0 Pro, has pushed that gap remarkably small. Its handling of texture, lighting physics, and fine detail is what makes photorealistic output genuinely believable rather than merely impressive. Let’s get into exactly how to achieve that level of realism yourself.
The uncanny valley problem, explained
Humans are extraordinarily good at spotting when something looks “almost” real but isn’t quite — a phenomenon often called the uncanny valley. It usually isn’t one glaring mistake that gives an image away, but a handful of small inconsistencies stacking up: skin that’s too smooth, shadows that fall at slightly the wrong angle, reflections that don’t quite match their surroundings. Understanding this helps reframe the goal — you’re not chasing “high quality,” you’re chasing physical accuracy.
Camera language your prompt should borrow
Photographers and cinematographers have an entire vocabulary for how light and lenses behave, and borrowing it directly makes a measurable difference in your results:
- Lens type — “85mm portrait lens” reads differently than “wide-angle“
- Depth of field — “shallow depth of field with soft bokeh” versus everything in sharp focus
- Film or sensor style — “shot on 35mm film” versus “digital, crisp detail“
Dropping this kind of specific, technical language into a prompt pushes the model toward genuinely photographic choices rather than generic “nice-looking” output.
Texture is where realism actually lives
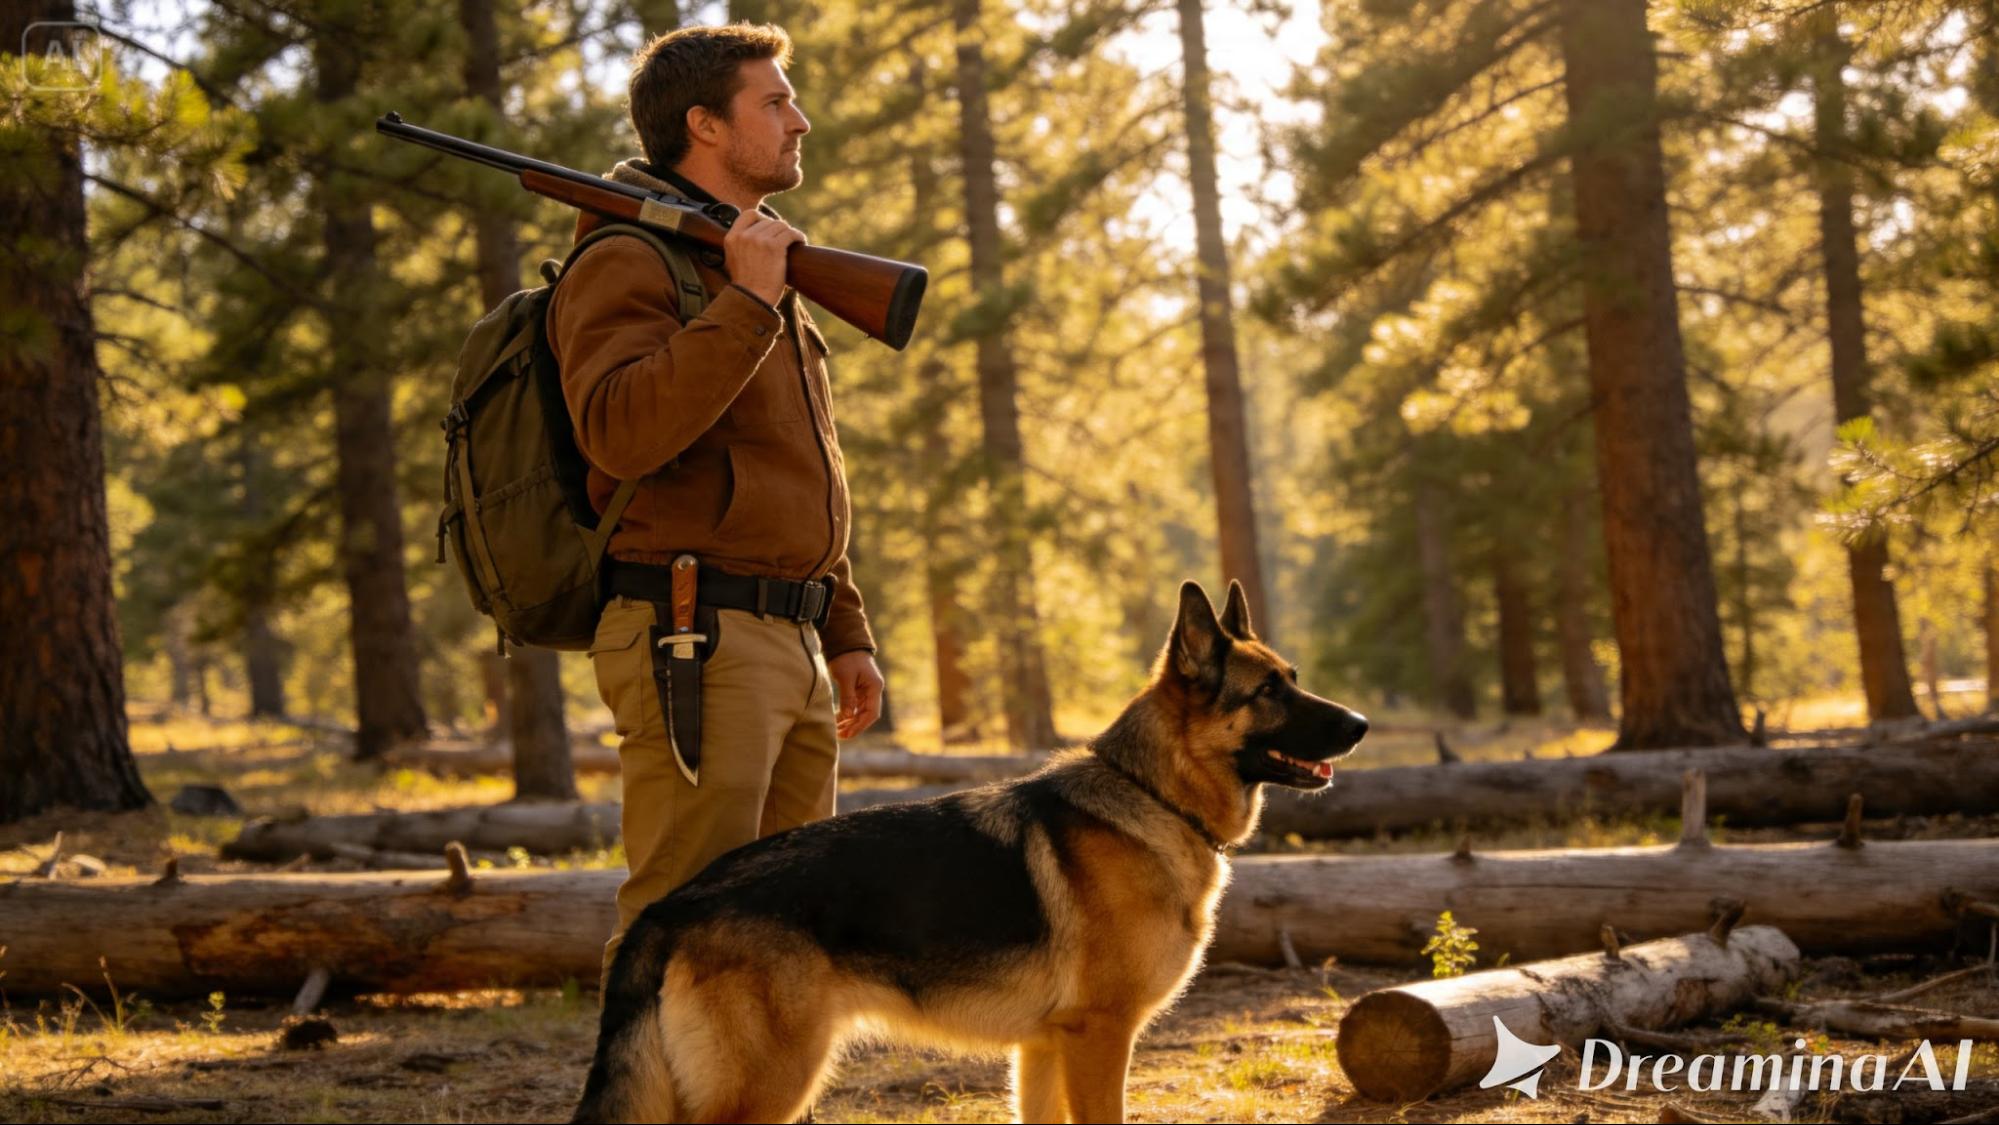
If there’s one single element that separates convincing photorealism from something that reads as slightly synthetic, it’s texture. Smooth, poreless skin, uniformly clean fabric, and flawless surfaces are the fastest way to tip an image into “obviously generated” territory.
Real skin has visible pores, fine lines, and subtle asymmetry. Real fabric wrinkles and catches light unevenly. Naming these imperfections directly in a prompt — “visible skin texture,” “natural fabric wrinkles” — pushes the output toward believability rather than an artificially polished look.
Getting light to behave like actual light
Light in the real world follows consistent physical rules — it falls off with distance, bounces and picks up color from nearby surfaces, and creates soft or hard shadows depending on its source. A few specific phrases help communicate this accurately:
- “Soft diffused light” for gentle, even illumination
- “Hard directional light” for crisp, defined shadows
- “Light bouncing off [a nearby surface]” for realistic color reflection in shadows
The more precisely you describe the light source and its behavior, the more physically consistent the final image tends to look.
Your 3-step realism check with Dreamina
Once you understand what drives photorealism, actually generating it is refreshingly direct.
Step 1: Write a text prompt and/or add a reference image
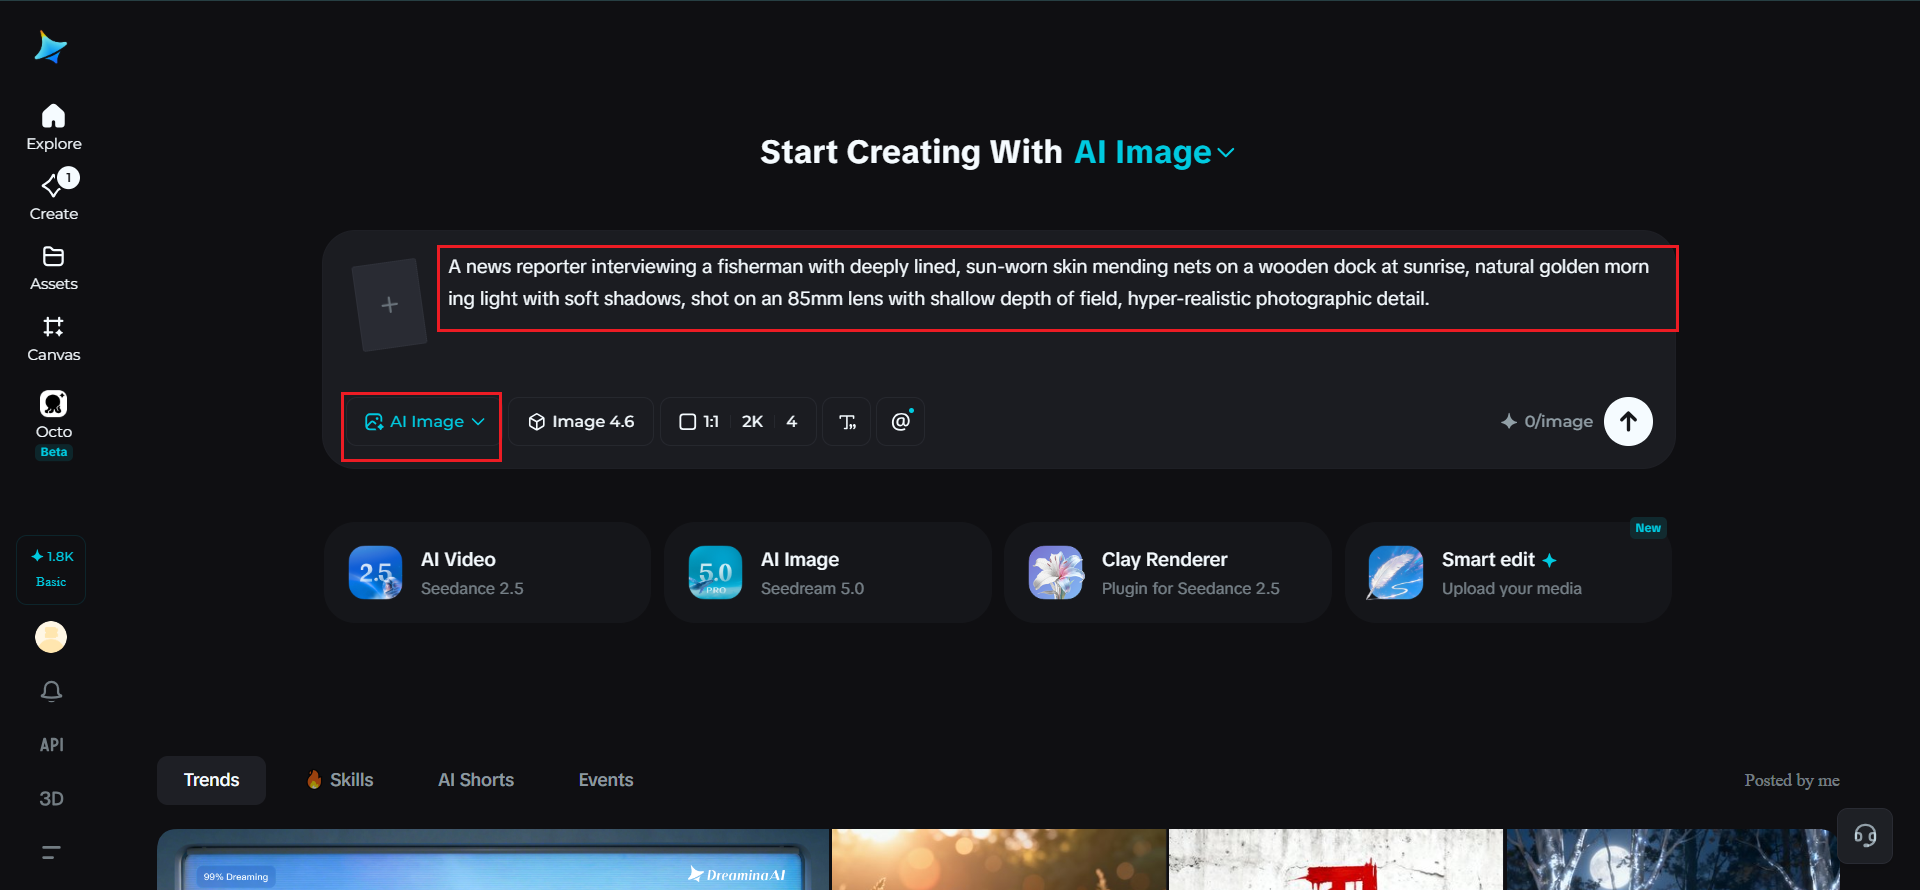
Head to Dreamina and write a detailed text prompt describing a person dressed appropriately for the scene, focusing on natural texture, specific lighting behavior, and camera-style language. If you have a reference photo capturing the mood or lighting quality you’re aiming for, upload it to sharpen the accuracy further.
A sample prompt might read: A news reporter interviewing a fisherman with deeply lined, sun-worn skin mending nets on a wooden dock at sunrise, natural golden morning light with soft shadows, shot on an 85mm lens with shallow depth of field, hyper-realistic photographic detail.
Layering texture, lighting, and camera language together is what pushes a prompt from generic to genuinely photorealistic.
Step 2: Adjust parameters and generate
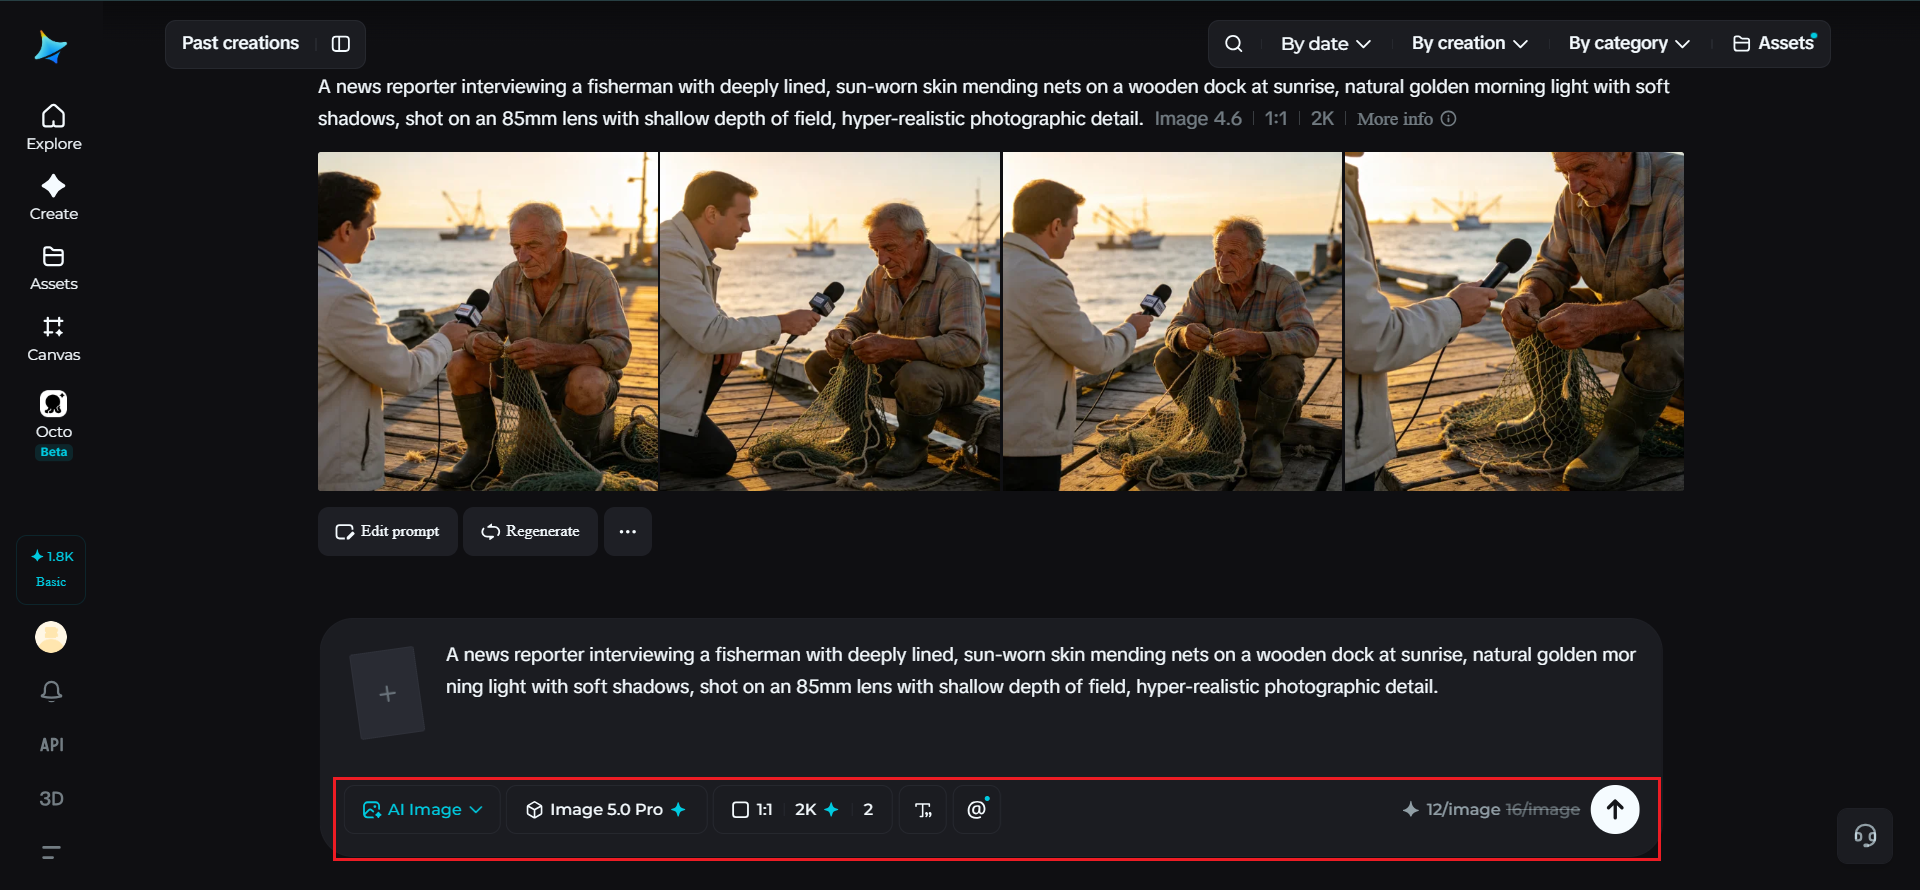
Before generating, dial in your settings. Select Image 5.0 Pro, powered by Seedream 5.0 Pro, as your model, then choose your aspect ratio, image size, and resolution, opting for 2K whenever photorealism is the goal, since fine texture and lighting detail hold up far better at higher resolution. Click Dreamina’s generate icon to produce your scene.
Step 3: Customize and download
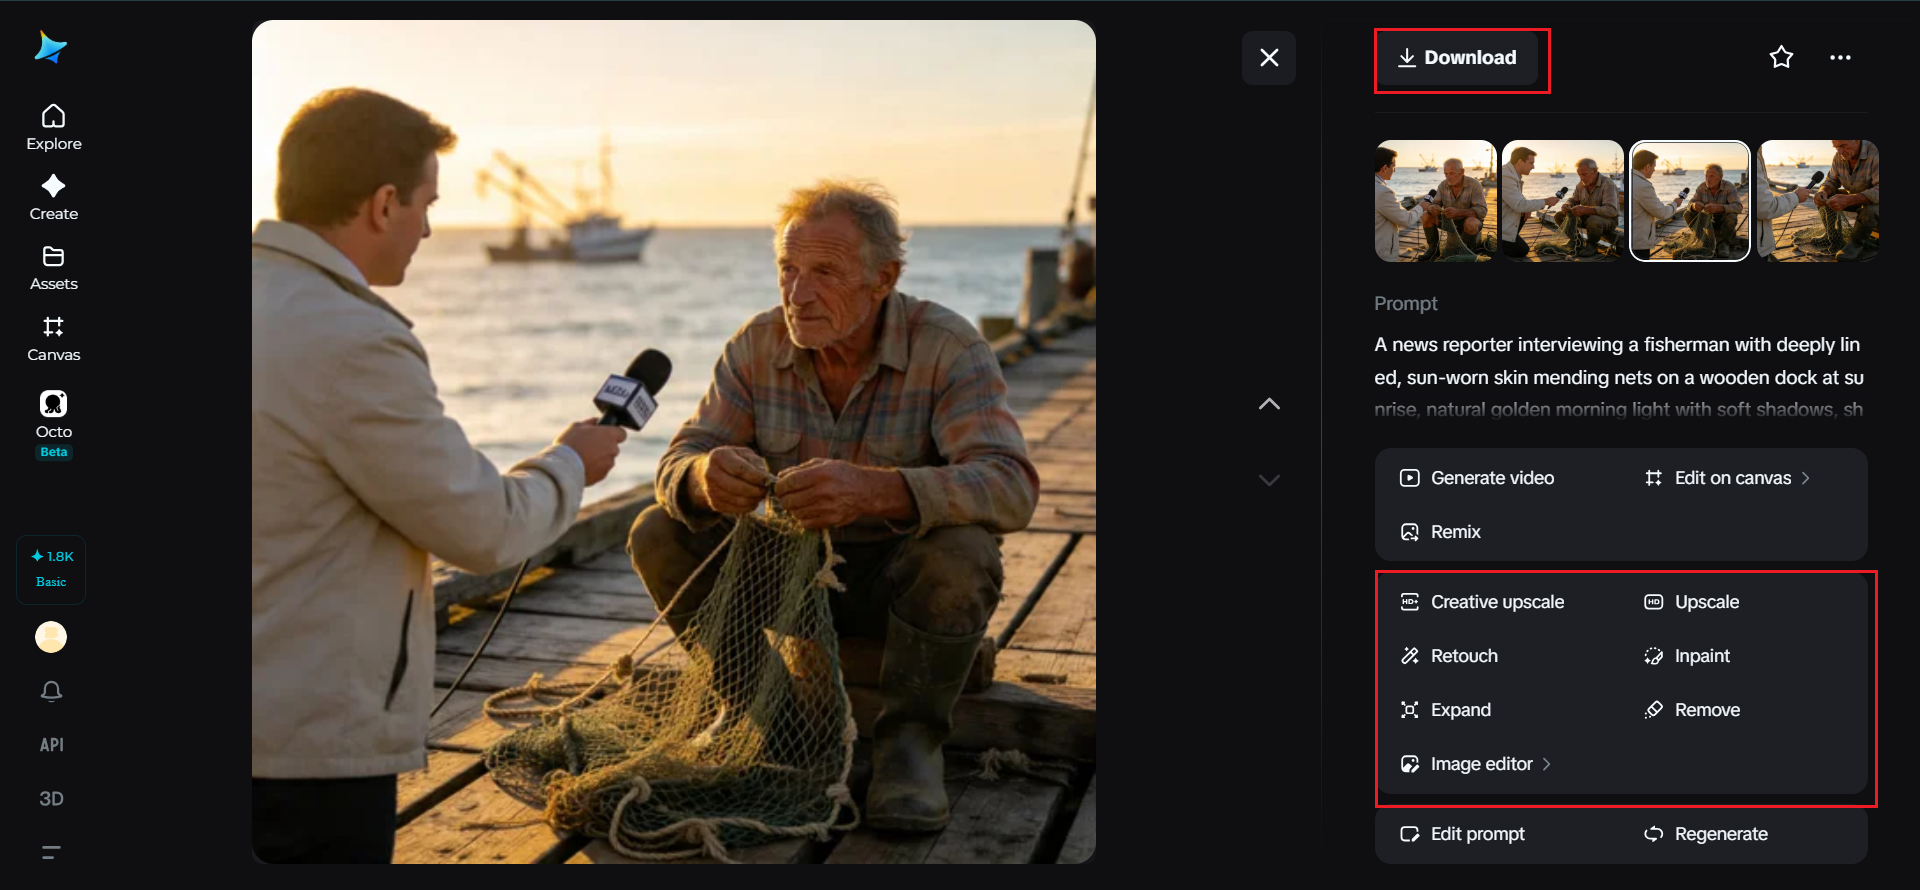
Once your image generates, examine it closely for anything that breaks the illusion, then use Dreamina’s AI customization tools to correct it — inpaint to fix overly smooth or inconsistent texture, expand to extend the scene naturally, remove to eliminate anything artificial-looking, and retouch to balance lighting and shadow detail. When it holds up under close inspection, click the Download icon to save your finished image.
Why Seedream 5.0 Pro handles realism so precisely
Photorealistic work depends on exactly the kind of technical precision Seedream 5.0 Pro was built around. Its 2K output quality preserves the fine textures, shadow gradients, and lighting nuance that separate a believable photo from an obviously rendered one.
Pinpoint precision editing, with point selection, lasso, sketch guidance, and regional controls, lets you address specific problem areas, like an oddly smooth patch of skin or an inconsistent shadow, without regenerating the whole scene.
Its deep reasoning generation also matters significantly here, analyzing lighting and compositional relationships before generating rather than treating each visual element in isolation, which is exactly the kind of physical consistency photorealism depends on.
A quick checklist before calling an image “done”
Before finalizing a photorealistic generation, run through a short mental checklist:
- Does the skin or surface texture show natural imperfection?
- Do shadows fall consistently from a single believable light source?
- Do reflections and highlights match the surrounding environment?
- Does the level of detail feel even across the whole image, not just the main subject?
If everything holds up here, you’ve likely closed the gap between “impressive” and “convincing.”
Final thoughts
Photorealism isn’t really about chasing higher quality settings — it’s about understanding texture, light, and camera language well enough to describe them accurately, then handing that description to the right AI image generator.
With Dreamina and its advanced Seedream 5.0 Pro model, that level of physical accuracy is genuinely achievable, right down to the imperfections that make an image feel real.
Study how light and texture actually behave, prompt with that precision, and let Dreamina render the rest convincingly.